

Is your smartphone battery draining faster than you can charge it? If you’re tired of constantly searching for an outlet or worrying about your battery dying halfway through the day, replacing your smartphone’s battery might be the solution you need. And don’t worry—replacing your battery doesn’t have to be a scary, complicated task. With a little preparation and the right tools, you can replace your smartphone’s battery in under 30 minutes. Sounds too good to be true? Let’s dive in and find out how easy it really is.
Why You Should Replace Your Battery

So, why should you replace your battery instead of buying a new phone? Well, batteries lose their capacity over time. The more you charge and discharge them, the weaker they get. If your phone isn’t holding a charge like it used to, replacing the battery can give it a fresh life, saving you the cost of a new device. Plus, it’s a fun DIY project that’s easier than you might think.
Ready to get started? Here’s what you’ll need.
What You’ll Need
Before you dive into the process, make sure you have everything you need. Trust me, nothing ruins a DIY project faster than realizing halfway through that you’re missing a tool.
Replacement Battery (make sure it’s compatible with your phone model; e.g., if you have a Motorola phone, a Moto G Stylus battery is the perfect fit)
Screwdriver Set (specifically, a small, precision screwdriver)
Plastic Pry Tools (to gently open your phone without damaging it)
Suction Cup Tool (to lift the screen without causing harm)
Tweezers (for handling small parts)
SIM Card Ejector (you might need this to remove the SIM card before opening the phone)
Now that you have the tools ready, let’s move on to the next steps.
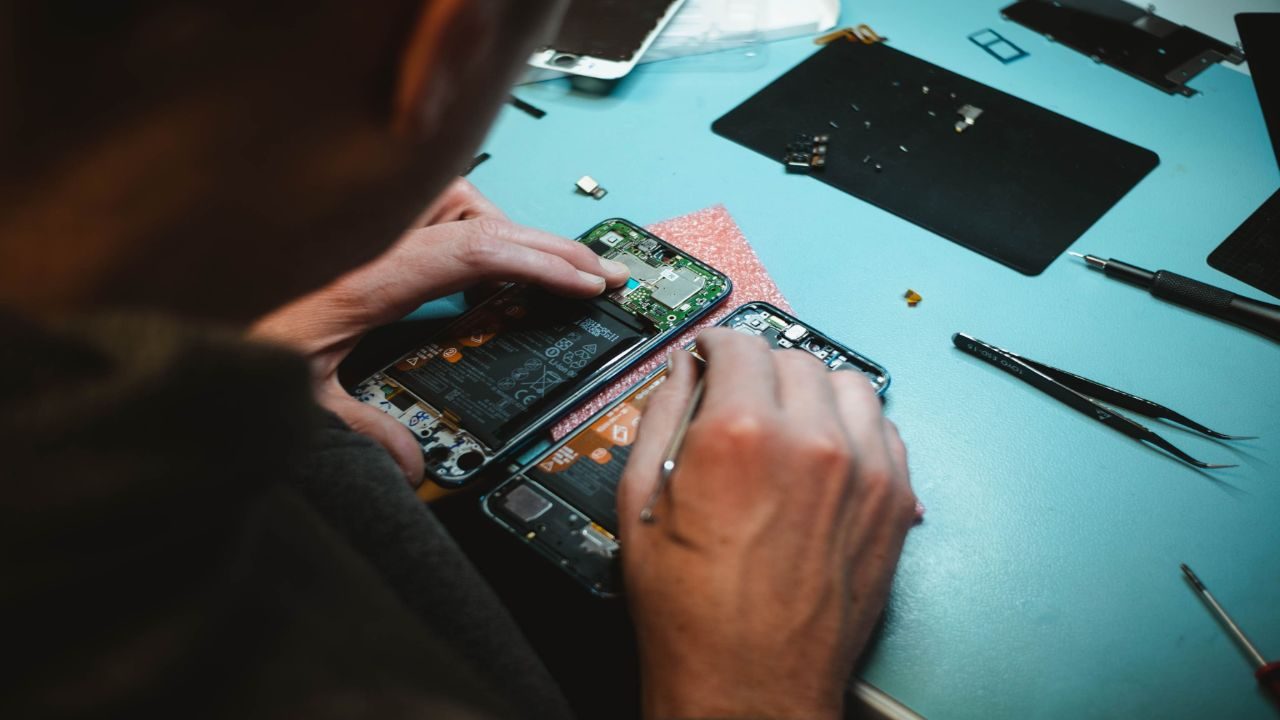
Step 1: Power Down Your Phone
It might sound obvious, but turning off your phone is the most important first step. You don’t want to risk any electrical damage or accidental taps while you’re working on the internals. Hold the power button and tap “Shut Down.” Give your phone a moment to completely power off.
Step 2: Remove the Back Cover or Screen
Now, the real work begins. Depending on your phone model, you’ll either need to remove the back cover or take apart the screen. Some phones have screws along the edges, while others are sealed with glue. If your phone has screws, unscrew them carefully using your precision screwdriver. Keep these screws in a small container to avoid losing them.
For glued phones, use your plastic pry tools. Insert the pry tool gently between the edges of the back cover or screen and carefully separate the pieces. If you’re using a suction cup, attach it to the screen or back cover and slowly pull while applying gentle pressure to loosen the adhesive.
Step 3: Disconnect the Battery
Once the back is off, you’ll see the battery. Before you touch anything, make sure to disconnect the battery. Phones have small connectors that can be tricky to remove. Use your tweezers or a small plastic tool to carefully disconnect the battery from the motherboard. Be gentle—you don’t want to damage any delicate components.
Step 4: Remove the Old Battery
With the battery disconnected, it’s time to remove it. Batteries are often glued in place, so you might need to use a plastic pry tool or the suction cup again to lift it out. Don’t force anything—if the battery feels stuck, apply a bit of heat with a hair dryer to soften the adhesive. Just be cautious and keep the heat low.
Once you’ve removed the old battery, compare it with the new one to make sure they match. If they do, you’re ready to install the new one.
Step 5: Install the New Battery
This is the fun part! Take your new battery and carefully place it into the phone. Make sure it’s aligned correctly with the connectors. Reconnect the battery to the motherboard, making sure the connection is firm and secure. If you’re unsure, double-check the connections before proceeding.
Step 6: Reassemble Your Phone
Now, it’s time to put everything back together. Carefully reattach the back cover or reassemble the screen, ensuring everything fits snugly. Screw in any screws you removed earlier, making sure they’re tight but not over-tightened. You don’t want to strip the screws or cause damage.
Once everything is back in place, power on your phone to check if it’s working properly. If the battery is connected correctly, it should power up without issue. Congratulations, you’ve just replaced your smartphone battery in under 30 minutes!
Step 7: Test the New Battery
After powering up your phone, test the new battery by charging it. Make sure it’s charging correctly and that your phone recognizes the new battery. You can also monitor the battery’s performance over the next few days to see how it’s holding up.
Replacing your smartphone’s battery is a simple yet satisfying task. It’s cost-effective, helps your phone last longer, and is a great way to avoid unnecessary trips to the repair shop. With just a few tools and a bit of patience, you can give your phone a new lease on life in under 30 minutes.
So, what are you waiting for? Grab a replacement battery and get to work! Your smartphone is about to get a much-needed upgrade, and you’ll feel great knowing you did it all yourself.